Ricoh G5 Nozzle Clogging Fix: Professional Cleaning & Testing Workflow
Ricoh G5 Print Head: Complete Professional Cleaning & Testing Guide
This article introduces the standardized full workflow for cleaning and testing Ricoh G5 print heads. Every operational step follows industrial maintenance standards to thoroughly resolve nozzle clogging issues and fully restore the original ink ejection and printing performance of the print head.
---
Step 1: Unpack the parcel
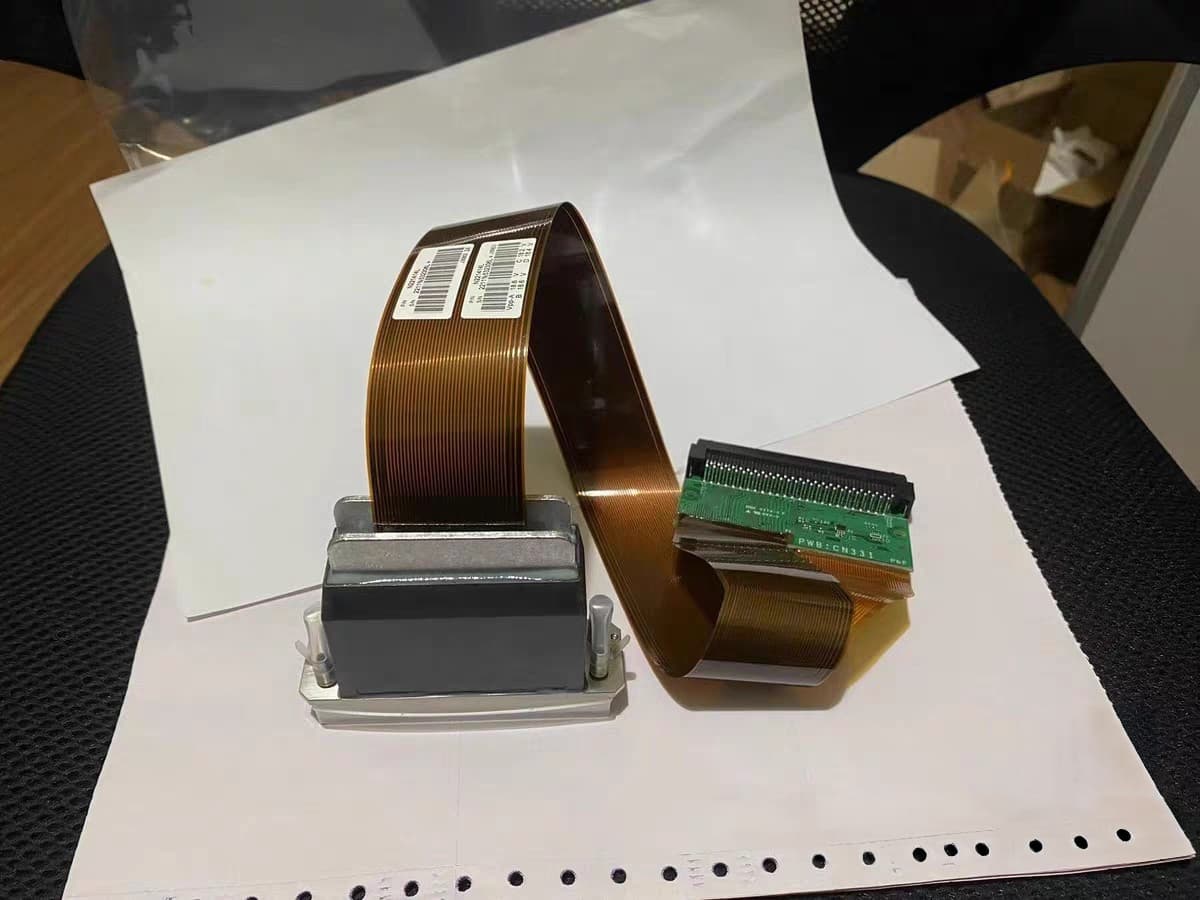
First, we start with unpacking the delivered Ricoh G5 print head. Carefully remove the outer packaging and take out the print head gently. Before carrying out formal cleaning work, conduct a comprehensive visual inspection on the device surface to check for any physical damage, scratches or abnormal defects. This preliminary check helps confirm the basic condition of the print head and lays a foundation for subsequent maintenance procedures.
Step 2: Register the print head serial number
After unpacking and inspection, we record and register the unique serial number of the print head. This is a key part of standardized management. The serial number serves as a unique identifier for each device, supporting file archiving, quality traceability, after-sales verification and customer information management. With complete serial number records, we can track the maintenance history of every print head efficiently.
Step 3: Clean residual ink inside the print head
Next, we remove residual ink inside the print head channels. Long-term accumulated ink will gradually cure and form sediment, which easily leads to nozzle blockage, broken printing lines and irregular ink ejection. We use dedicated professional cleaning solution to fully flush the internal ink passages, thoroughly clear residual ink, cured deposits and tiny impurities, and dredge the internal pipelines initially.
Step 4: Pre-cleaning on-machine status test
Prior to deep soaking and intensive cleaning, mount the print head on professional testing equipment for a pre-test. We observe and record the real-time ink ejection status, and mark existing problems such as missing nozzles, line discontinuity and deflected ink ejection. This test creates an objective performance baseline, so we can make an obvious comparison with the working condition after cleaning.
Step 5: Deep cleaning and soaking of the print head
According to the clogging degree confirmed in the pre-test, place the print head into special cleaning solution for targeted soaking and deep purification. Simple flushing cannot eliminate stubborn cured ink attached to deep channels. The soaking process can fully dissolve hard-to-remove ink dirt and thoroughly unclog all nozzle passages.
Step 6: Check nozzle water line status after cleaning
Once deep cleaning and soaking are finished, take out the print head and inspect the nozzle water line performance strictly. Qualified water lines should be uniform, stable and continuous, without breakage, divergence or missing points. Good water line status indicates that all internal nozzle channels are completely unobstructed.
Step 7: On-machine test print after cleaning
The final procedure is post-cleaning verification test. Reinstall the cleaned print head on testing equipment and print standard test strips. We check the clarity, continuity and integrity of the printed patterns to confirm all nozzles work normally. When all test indicators meet industrial standards, the entire print head cleaning and maintenance process is completed.
---
Summary
The whole set of standardized maintenance procedures covers:
- Unpacking inspection
- Serial number registration
- Residual ink removal
- Pre-testing
- Deep soaking
- Water line inspection
- Final printing verification
Following this complete workflow can effectively repair clogged Ricoh G5 print heads and ensure long-term stable and high-precision printing output.
---
Frequently Asked Questions
Yes. We photograph before/after nozzle checks and share full reports. Not every repair is 100% — we show real results.
It depends on the model and damage type. Light clogs: ~95%. Moderate clogs: ~75%. Severe/UV damage: 40-60%. We give honest estimates upfront.
Yes. We handle batch repairs regularly. For 5+ units, we offer volume pricing. Contact us with model and quantity.
We will first check your printhead condition before any repair.
Need a Printhead Repaired or Want to Sell?
✓ No fix, no charge · ✓ 30-day warranty · ✓ Reply within 24h